How to Design a Complete Solar System for a Caravan/RV – Getting out and exploring the great outdoors is a much-loved occupation for most Australians. But you can’t go far in your caravan or RV without needing your power system functioning.
So in this blog, the Valen team cover the various aspects you will need to consider when putting your system together.
Sizing your Solar System
Firstly, let’s size your system. To size your system, we will need to look at the appliances you want to run on the solar system.
Next, we need to look at the appliance’s current draw (kWh) and how long they are required to run.
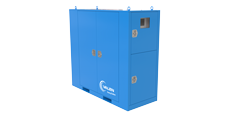
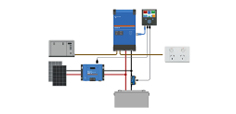
Components of your Solar System
Once the system size has been calculated, it’s time to work on the individual components that make up the system.
Valen has listed these below with a brief insight into what’s best to look for in each component;
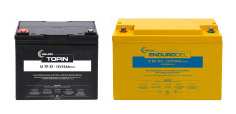
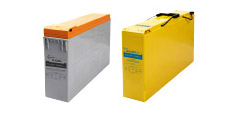
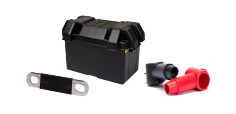
Batteries
Technology-wise there are a few different options available here. However, it is best to go for either a VRLA or Lithium battery technology, as these are the safest for installation in Caravans/RVs.
Bear in mind that a VRLA battery must be installed with external ventilation. For more information on this – Please read Valens blog on Safest Batteries for My Caravan or RV
DC-DC chargers
A DC-DC charger is specifically designed for caravans so that the secondary batteries can be correctly charged from the start battery or direct from the alternator when the vehicle is running.
A start battery in a vehicle will never reach a high enough voltage to charge a second battery. This is especially critical when driving long distances or when there is limited solar charge available.
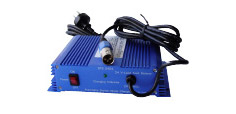
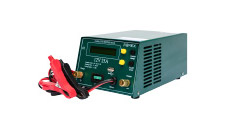
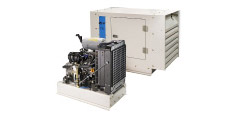
AC Battery charging
For the most part, our caravans are not in use all year round. When in storage, the battery needs to be connected to a trickle charger. This will keep the batteries maintained at a correct voltage so they do not fail.
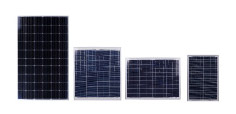
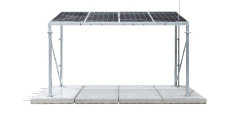
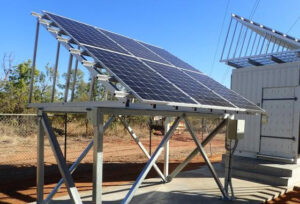
Solar Panels
Once the Wattage required has been calculated, you need to ensure that the number of panels will be able to fit on the roof of your caravan or motorhome.
Fixed panels are the most convenient. However, portable panel systems will allow for maximum solar advantage.
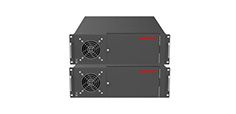
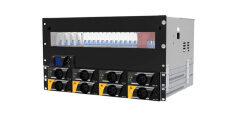
Solar Charge Controller/ Regulator
This nifty piece of equipment takes the charge from the solar panel and controls/regulates it to a voltage accepted by the batteries in order to charge the battery system correctly.
There are two different types to be aware of; PWM (Pulse width Modulator), an on-off switch with the power coming through, or MPPT (Multiple Power Point Tracking), a DC-DC converter.
The specification for the controller will show the number of amps that the unit will be able to accept from the solar panels. You need to ensure that this adequately covers your needs and preferably add in extra slack so that you can easily expand your system should you want to in future. It also allows you leeway to pump in maximum amps should the weather be bad.
It’s a good idea to check if your chosen regulator can vary the charging output like a multistage charger, allowing it to float charge the battery to 100%.
Invertor
The invertor brings up the voltage supplied by the battery system to the voltage used by the electrical equipment. In most cases, 240VDC.
Some inverters can accept 240VDC power as well, should the user wish to connect at a caravan park. You need to ensure that the invertor is well-sized in order to cover any peak current draw from your equipment when starting.
Wiring and Connections
The instructions that come with the solar regulator will identify the wire thickness required depending on your distances.
Most Caravan and RV applications will use 6mm square UV stabilised wire to connect the regulator, battery and solar panels.
All connectors need to be waterproof. MC4 connectors are generally used for solar connection
Questions
If you still have questions on any of the above areas, the Valen team are here to help! Get in touch today!